Using ConnectEase with Visual Basic
![]()
The following example shows how to use Microsoft Visual Basic to connect to a DataEase
database.
Open Microsoft Visual Basic as you would normally.
Select the Visual Data Manager choice from the Add-Ins menu.
The VisData window will open.
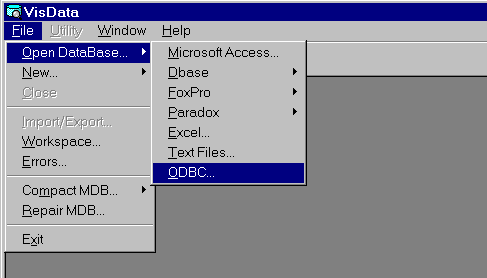
Select the ODBC choice from the Open Database sub-menu of the File menu. The ODBC Login screen will appear.
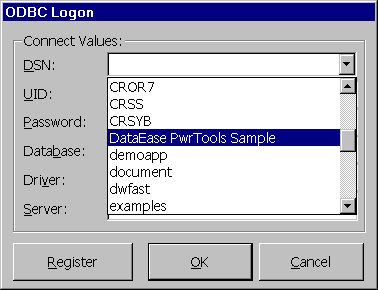
Scroll down to your DataEase data source and double-click on it to select it. The screen will reappear with connection values as shown below.
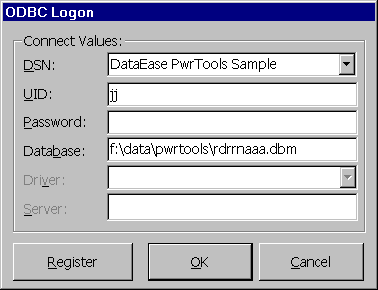
Click on OK to open the data source. The VisData screen will reappear with a list of available tables.
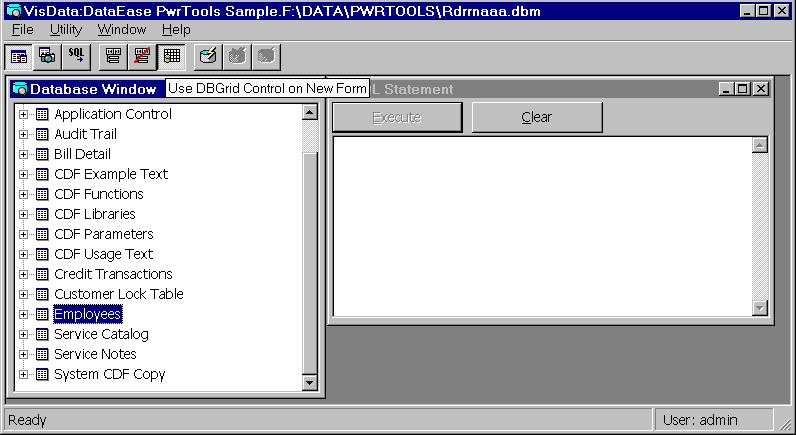
Click on the tool bar item "Use DBGrid Control on New Form". Then double-click on a table to open it. The table will be opened in grid format as shown below.
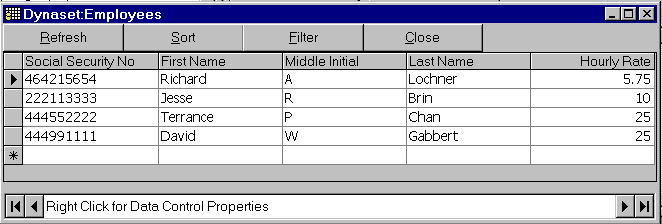
You have now successfully connected to your data.
Note: When programming Visual Basic or Access Basic functions that connect to a ConnectEase datasource, the connection string is of the format:
ODBC;DSN=<your data source name>;UID=<user id>;PWD=<password>;
where User ID (UID) and Password(PWD) need only be specified to override those stored when you initially set up the ConnectEase data source. Also, if you do not want a default User ID or Password stored in the computer's ODBC.INI file (or registry section), you should leave these blank on set-up. This will cause the driver to request authentication each time a connection is established.
.
![]()
Copyright ©1997 by montreaux media corporation - ALL RIGHTS RESERVED