Using ConnectEase with Powerbuilder
The following example shows how to use Powersoft Powerbuilder to connect
to a DataEase database.
Start the Powerbuilder application as you would normally.
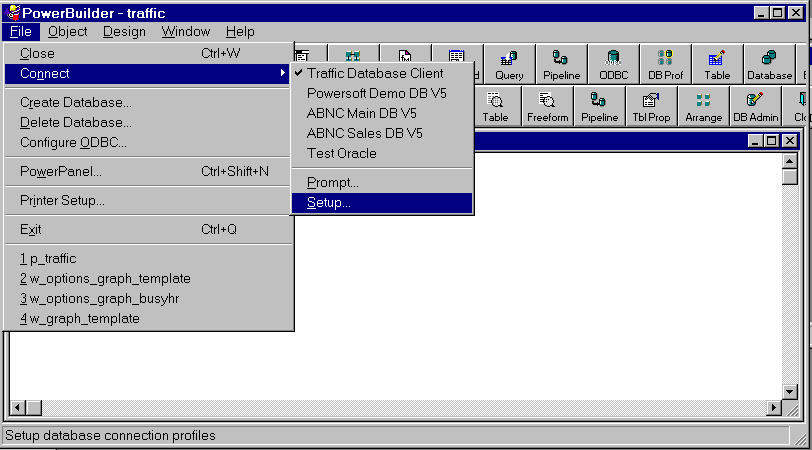
From the Powerbuilder toolbar, select the Database icon.
From the main menu, pull down the File menu selections. From the File
menu, select Connect. Another selection list appears. Click on Setup.
A dialog box, entitled Database Profiles will appear.
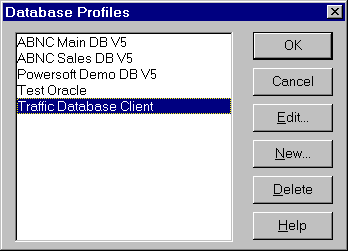
In the Database Profiles dialog box, click on the New button.
The Database Profiles Setup dialog box appears.
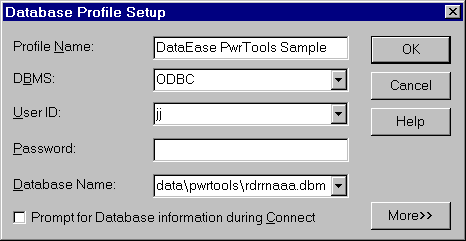
In the Database Profiles Setup dialog, type the appropriate information into the
blank fields. The Database Name must contain a complete path and filename to your
DataEase RDRR file.
When you have completed the data, click on More. An additional dialog box,
entitled CONNECT OPTIONS, appears. See below.
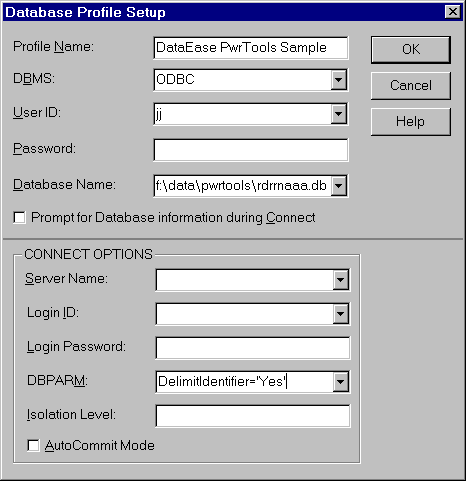
Type "DelimitIdentifier='Yes'" into the DBPARM field, then
click on OK.
The Select Data Source window appears.
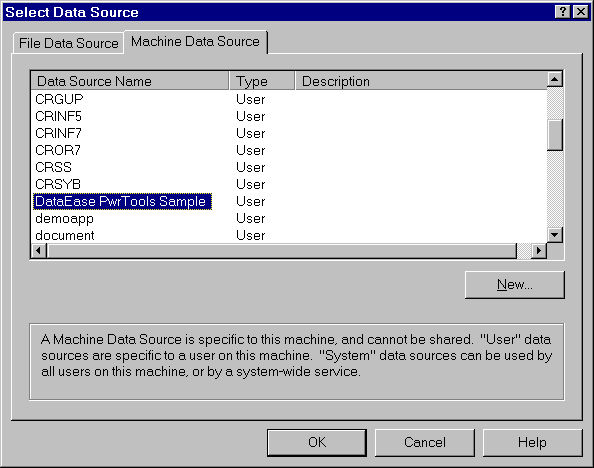
Select the Machine Data Source option. Scroll down to and select the DataEase
data source you want. Then click on OK.
The Database Profiles dialog box appears.
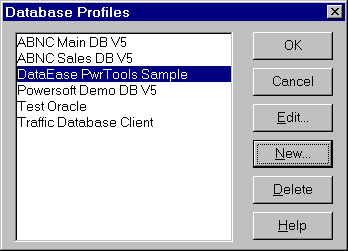
Click the OK button.
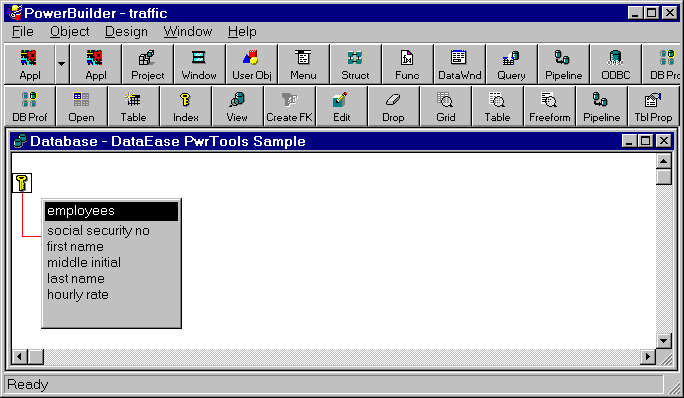
If there are no errors, then you have created a new database profile. Click OK
to leave the Database Profiles dialog box. Powerbuilder will open your DataEase database
as shown below.

Scroll down to a table that you wish to access and click on Open. The following
will appear.
Position the cursor over the highlighted table and use the right mouse button to
display a pop-up menu.
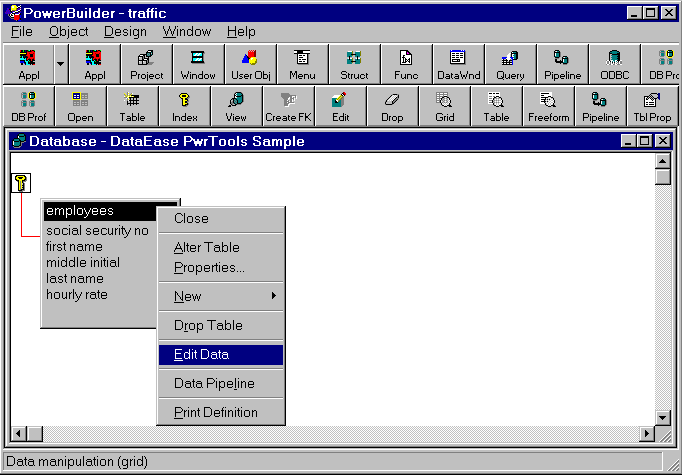
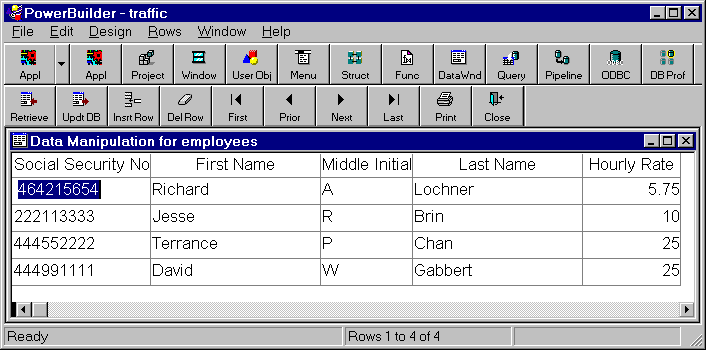
From the pop-up menu, select Edit Data. A grid view of the data in the table is
displayed as in the example below.
|